
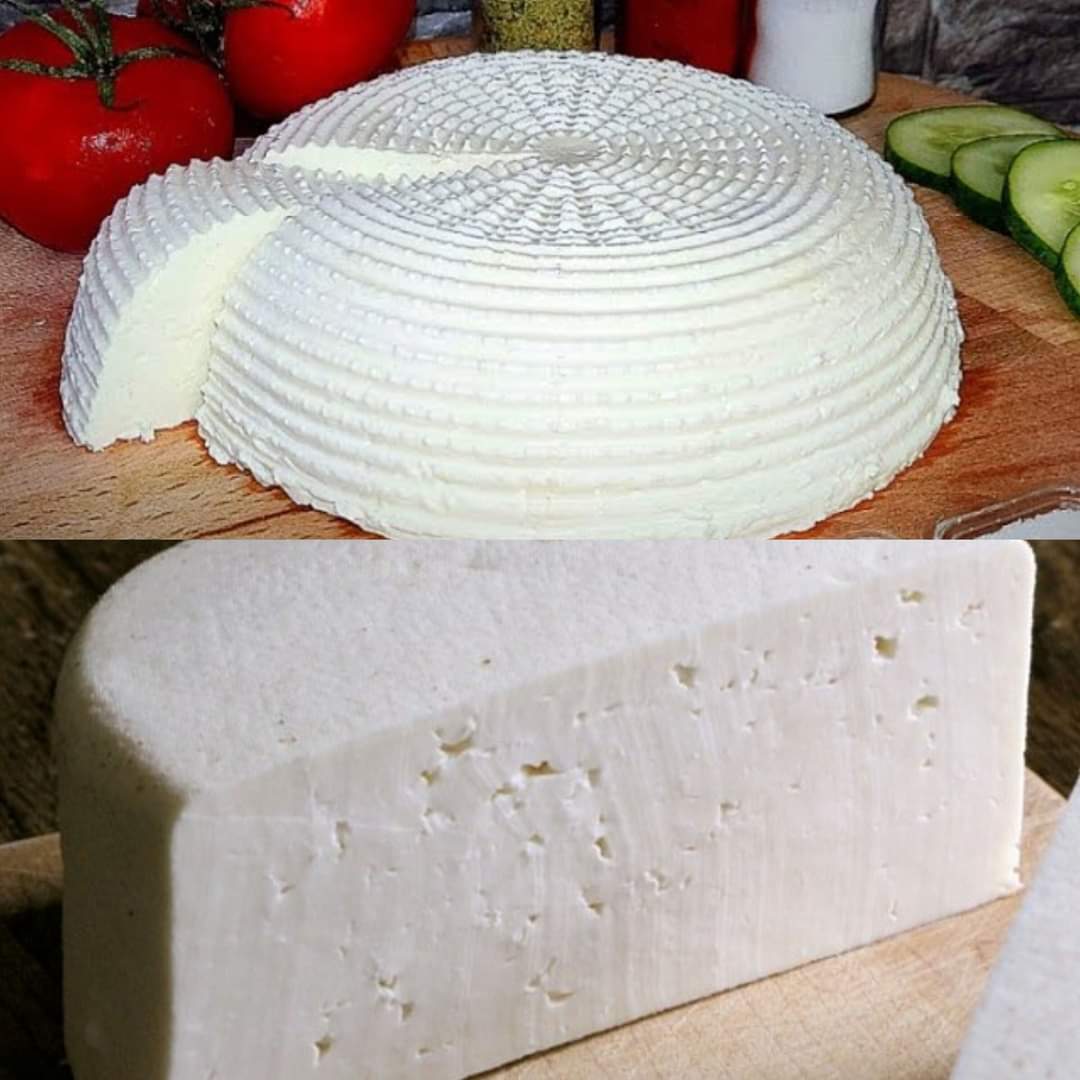
Making cheese at home can be a delightful and rewarding experience, especially when you discover you can do it with just milk and water, no rennet required! This simple method will not only yield delicious cheese but also offer a great way to impress family and friends with your culinary skills. Let’s dive into the steps for crafting this homemade delight.
Ingredients You’ll Need
- 1 gallon of whole milk (not ultra-pasteurized)
- 1/4 cup of white vinegar or lemon juice
- 1 to 2 teaspoons of salt (optional, for taste)
- Water (for cooling and washing the curds)
Equipment
- Large pot
- Thermometer (optional)
- Cheesecloth or a fine mesh strainer
- Slotted spoon
Preparation Steps
- Heat the Milk: Pour the milk into a large pot and slowly heat it on the stove over medium heat. Monitor the temperature with a thermometer, if available, aiming for about 180-185°F (82-85°C). Stir occasionally to prevent the milk from scorching on the bottom.
- Add Vinegar or Lemon Juice: Once the milk reaches the desired temperature, remove the pot from the heat. Stir in the vinegar or lemon juice gently. The milk should begin to curdle immediately. Let it sit undisturbed for 10 minutes to allow the curds and whey to fully separate.
- Separate the Curds from the Whey: Line a colander with cheesecloth and place it over a large bowl. Carefully pour the curdled milk into the colander to catch the curds. What drains into the bowl will be the whey, which you can save for other recipes or discard.
- Cool and Wash the Curds: Once all the whey has drained, rinse the curds with cool water. This helps improve the curds’ texture and removes any lingering acidity. Gently stir the curds with your hands while rinsing.
- Press the Curds: After rinsing, gather the cheesecloth around the curds and gently squeeze to remove as much water as possible. If desired, you can place the wrapped curds under a weight for a few hours to further press out the liquid.
- Season the Cheese: Open the cheesecloth and mix in salt to taste, if using. This is also the time to add any herbs or seasonings for flavored cheese.
- Shape and Chill: Shape the cheese into a ball or a brick, then wrap it tightly in cheesecloth. Place it in the refrigerator to chill and further firm up for at least several hours or overnight.
Enjoy Your Homemade Cheese!
Your homemade cheese is now ready to be enjoyed! It can be sliced for sandwiches, crumbled over salads, or simply eaten as a snack with crackers and fruit. This cheese will have a fresh, mild flavor and a soft, spreadable texture.
ADVERTISEMENT

